Friday 31 January 2014

Urad Dal Vad

ಉದಿನ್ನ ವಡೆ 
Vada is a traditional south indian food known from antiquity.Vadas commonly prepared at home as well a typical street food in the indian Subcontinent and Srilanka.They are usually a high calorie morning food, but in street stalls and in hotels they are available as a snack all day. Vadas are deep- fried in oil and serve with savoury accompaniments for example : they served along with a main course such as Dosa, Idli or Pongal. It also served with a variety of dips ranging from sambar to chutney to curd .

Basic For Beginners
Urad Dal Vada

I love urad dal vada , vada makes a  perfect breakfast along with  idli, chutney and sambar . But usually,we don't get sufficient time for preparing all this together early in the morning. When i was in india ,my mother was doing these almost every sundays :) Of course now i am following her, but slight change, I prepare sambar, idly and vada batter in the night itself :P The only thing i need to do is fry vadas, grind chutney and make idlies in morning :). 

Basic For Beginners
Urad Dal Vada


Ingredients :
Soaked urad dal 1 big cup.
Garlic 1 small size finely chopped ( optional )
Ginger 1 small inch finely chopped.
Onion 1 small size finely chopped ( optional )
Curry leaves 8 to 12 chopped.
Chopped  green chillies 3 medium size.
Crushed black pepper 5 to 8.
Coconut thinly sliced 5 to 6 small pieces.
Salt to taste.
Oil for fry.

Basic For Beginners
Urad Dal Vada

METHOD:
Step 1: First Soak the urad dal for 1 to 2 hours and grind them with a little water until it become fluffy. The batter should roll like a ball in your wet hands,these is the right stage to remove from a grinder. And keep it in a refrigerator for an hour.
Step 2: For a batter add chopped onion, green chillies, ginger and garlic, curry leaves, coconut,  crushed black pepper, salt and mix well.

Basic For Beginners
Soaked Urad Dal
Basic For Beginners
Plain Urad Dal Batter
Basic For Beginners
Mixed Urad Dal Batter

Step 3: Now give shape for the vada using banana leaf or polythene cover, or put a little batter in your wet palm , pat it and make a hole in the middle and put it in a oil directly.
Step 4: Heat oil in a thick bottom pan in a medium flame, and put the shaped urad dal batter one after the another and  fry them both the sides until crisp.


Basic For Beginners
Urad Dal Vada

Note:
1) If you want a crispy vada , soak the urad dal for a long time and fry them in a low flame.
2) Do not add more water for urad dal while grinding. If so.....your vada will drink more oil.
3) Do not grind for too long, it makes batter sticky and will not get proper shape.
4) You can also do the same method using chana dal, moong dal etc. 
5) Quantity of all the ingredients used here can be altered according to your choice for look, taste and smell :)

Friday 24 January 2014

Chooda Avalakki

ವಗ್ರಣೆ ಅವಲಕ್ಕಿ 
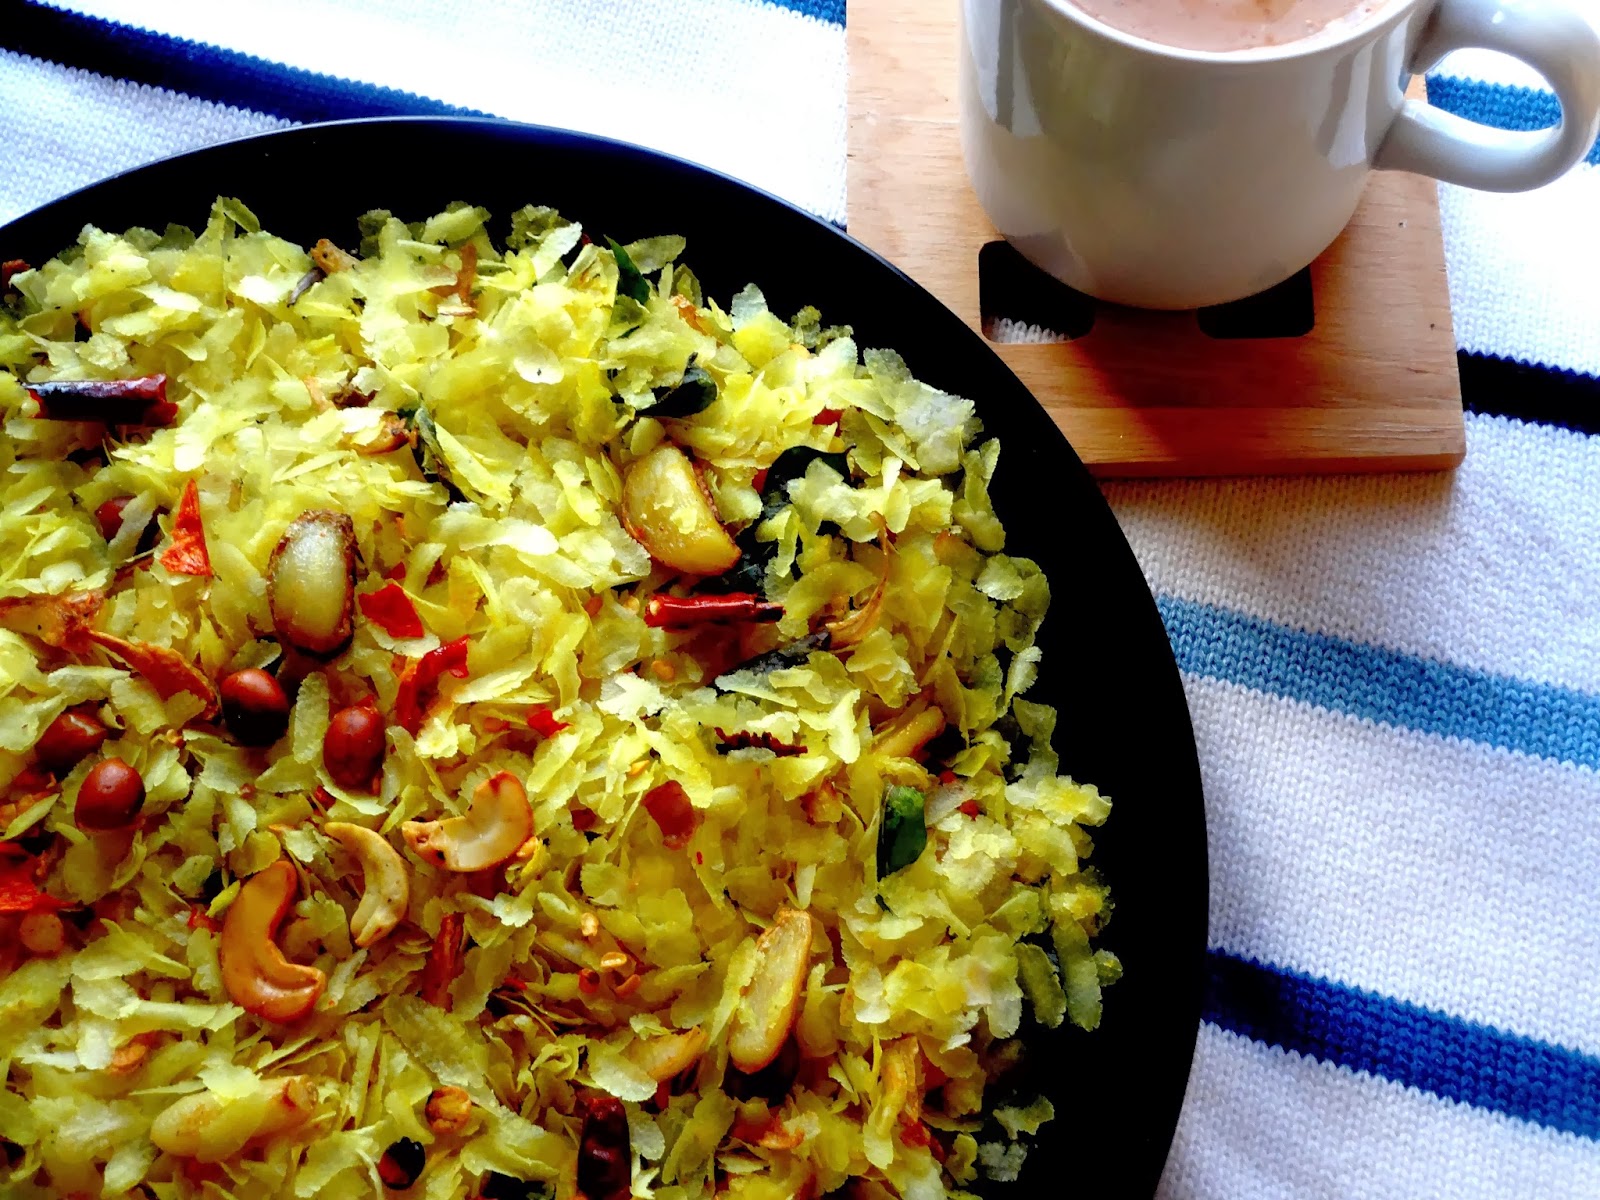
Flattened rice is also called BEATEN RICE is dehusked rice which is flattened into flat light dry flakes.These flakes of rice swell when added to liquid. whether hot or cold as they absorb water, milk or any other liquids. The thickness of these flakes vary between almost translucently thin ( the more expensive varieties ) to nearly four times thicker than a normal rice grain. Chooda avalakki is basically South Indian dish and quite famous in karnataka, They mainly served as a evening snacks and can store for a week in a air tight container. 

Basic For Beginers
Chooda Avalakki
Me and my mother like this type of food items like spicy, fryed etc..Rest of my  family members are quite specific in food items... So i didn't try this recipe before in my home. When i was in Bangalore me and my mom used to buy this type of fryed items in  Iyengar bakery and using as a evening snacks in winter and rainy season with a cup of coffee :) When i came to London, I prepared Chooda Avalakki for almost 4 to 5 times, Each time was getting nice compliments from everyone. Few of  my husband colleagues ( non Indians ) also liked this , I shared this recipe with them also but they find little difficult cooking Indian food items. So most of the time i prepare chooda avalakki for them.:)

Basic For Beginners
Chooda Avalakki
Ingredients :
Thin poha or paper avalakki 2 big cups.
Garlic 1 medium size ( thinly sliced )
Peanuts 1 small cup.
Dalia dal or hurigadle 1 small cup.
Curry leaves 10 to 15.
Red chillies 3 to 4 ( crushed ).
Dry coconut or kobbari 1 small cup ( thinly sliced )
Turmeric powder 1 small tea spoon.
Oil 1 small cup.
Mustard seeds 1 small tea spoon.
Cashew nuts 1 small cup ( optional )
Salt to taste.
Sugar 1 small tea spoon.

Basic For Beginners
Chooda Avalakki
METHOD
Step 1: In a thick bottomed pan add poha fry them for 2 to 3 minutes or until crisp in a very low flame and keep it a side.
Step 2: In a another pan heat oil for a minute and add mustard seeds. Once they stop sputtering, add peanuts, dalia dal, cashew nuts, coconut, garlic fry them till golden brown.
Step 3: Add crushed red chillie flakes,curry leaves, turmeric powder ,sugar and salt to taste fry them for a minute.
Step 4: Now turn off heat, allow it to cool for sometime and add  the poha to it  and mix well softly. 

Basic For Beginners
Chooda Avalakki
Note :
1) Do not mix poha when its hot otherwise poha become very hard.
2) Do not over heat poha fry very smoothly until crisp.
3) You can also add other dry fruits like almond, pista  for a extra flavour.
4) You can also do the same method using puffed rice.
5) Quantity of all the ingredients used here can be altered according to your choice for look, taste and smell :)

Basic For Beginners
Chooda Avalakki

Friday 17 January 2014

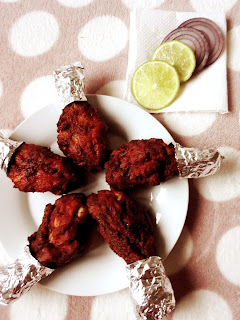
Chicken Leg Kebab

ಕೋಳಿ ಕಬಾಬ್ 
The history of kebab indicates that Persian soldiers during the medieval age  "Skewered " piece of raw meat onto their swords to grill them over fires started in war fields. Kebab is originally  invented in Turkey and later spreading into Middle Eastern and South Asian cuisine. Kebab rapidly become  famous and tasty delicacy across the world specially in UK. Kebab is now a favourite dish of people all over the world.

Basic For Beginers
Chicken Leg Kebab
Hey Buddies, As you all know their are different varieties of kebab in this world made out of different meats, Marination, types of cooking like roasted, stewed, fried, grilled  makes me blank sometimes. When it comes to cooking non veg items my confidence goes down . My mother, She is a pure vegetarian and my father love non veg items :) my father was preparing these type of items when i was kid and I learnt few non veg recipes from him and eating as well  hehehehe......of course things will not remain same, Now i have to cook for my Family. :) Friends this is the simplest kebab in this world using kebab powder. :P

Basic For Beginners
Chicken Leg Kebab
Ingredients :
Chicken legs 5 ( drumsticks ).
Kebab powder 2 teaspoon.
Red chili powder 1 teaspoon ( optional ).
Turmeric powder 1/2 teaspoon
Ginger paste 1 teaspoon
Garlic paste 1 teaspoon.
Olive oil 1 teaspoon ( I used regular oil )
Curd 1 teaspoon.
Egg 1.
Lemon juice 1 teaspoon.
Salt to taste.

Basic For Beginners
Chicken Leg Kebab
METHOD :
Step 1: Clean the chicken drumstick in a cold running water 3 to 4 times and make 2 to 3 incisions with a  knife or fork around the leg piece and keep it aside.
Step 2: In a another plate add all above mentioned ingredients i.e kebab powder, curd, ginger & garlic paste, red chili powder, raw egg, turmeric powder, lemon juice, oil and salt mix well.

Basic For Beginners
Marinate Chicken Leg
Step 3: Rub this mixture onto the leg pieces and let it marinate for 20 to 30 minutes or over night. If u prefer over night cover the plate with plastic wrap and keep it in a fridge.
Step 4: Now add oil in a frying pan and deep fry marinated chicken leg in a low heat until chicken becomes tender and crisp.

Basic For Beginners
Chicken Leg Kebab
Note :
1) Do not add water for a batter.
2) Do adjust the quantity of salt because some kebab powder contain salt some may not.( taste the kebab powder before mix or read the ingredients).
3) Do not forget to add turmeric powder it removes all bacteria from a meat.
4) You can also do the same method using other meats like mutton, fish etc.
5) Quantity of all the ingredients used here can be altered according to your choice for look, taste and smell :)


Friday 10 January 2014

Yellow Moong Dal Salad

ಹೆಸರುಬೇಳೆ  ಕೋಸಂಬರಿ 
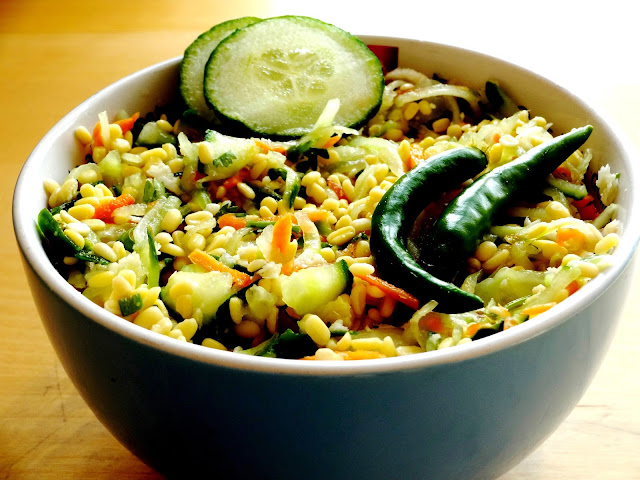
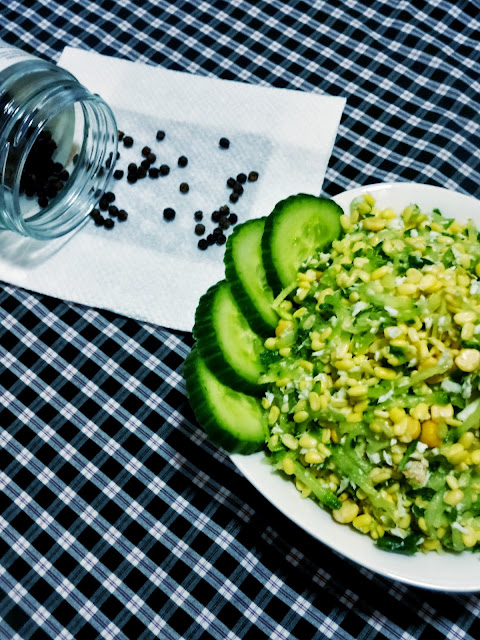
Kosambari is a traditional and most popular salad  from Karnataka. A very simple, healthy and tasty salad were people use as a starter in almost all the occasions in Karnataka like marriages, festivals etc.... Kosambari is also offered as a prasadam in a temples during the time of Ramanavami and hanuman jayanthi.
Hesarubele Kosambari

My whole family members love this salad including me :) and of course i do not wait for any occasions to prepare this salad. I use kosambari as a evening snacks or side dish for dinner. This salad is very refreshing, rich in proteins and healthy also. So its really works during summer time. I do not forget to prepare this salad for my non indians friends when they come for dinner or lunch.

Basic For Beginners
Hesarubele Kosambari
Ingredients for Hesarubele Kosambari
Moong dal 1 small cup.
Cucumber 1 medium size finley chopped.
Grated coconut 2 teaspoon.
Coriander Leaves 2 teaspoon finley chopped.
Grated carrot 2 teaspoon ( optional ).
Green chili 2 medium size finley chopped. 
Lemon Juice 1 teaspoon.
Salt to taste.
Pepper powder (optional ).
Carrot ( optional )

Basic For Beginners
Hesarubele  Kosambari
METHOD:
Step 1: Soak moong dal in a water for an hour and drain the water keep it aside.
Step 2:For the moong dal add all above mention Ingredients one after the another i.e  finley chopped cucumber, coriander leaves, green chili, grated carrot and coconut.
Step 3: Add pepper powder, lemon juice, salt before u serve.

Basic For Beginners
Hesarubele kosambari
Note:
1) You can also garnish or mix salad with seasoning made with oil, mustard seeds, curry leaves, hing or asafoetida.
2) To avoid watery salad add salt and pepper before you serve.
3) You can add carrot and ginger for extra flavor.
4) You can also do the same method using channa dal, green moong dal etc.
5) Quantity of all the ingredients used can be altered according to your choice for look, taste and smell. 


Hesaribele Kosambari
Hesarubele Kosambari

Friday 3 January 2014

Gobi Manchurian Dry

ಗೋಬಿ ಮಂಚೂರಿಯನ್ ಡ್ರೈ 
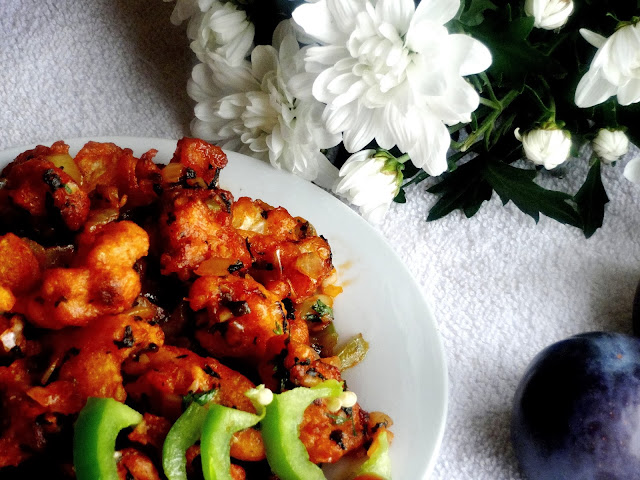
Gobi Manchurian is an Indian Chinese fried cauliflower food item popular in India. Gobi Manchurian is a result of the adaptation of Chinese cooking and seasoning techniques to suit Indian tastes. It is  believed to have been originally developed by small Chinese community which lived in kolkata for a century.
Basic For Beginners
Gobi Manchurian Dry
Lately, I thought of have Gobi Manchurian Dry. Whenever we goes to Indian Restaurants we were searching for Gobi Manchurian Dry in a chats section, but almost all the time was not getting positive answers from them. Even if we get also was compromising in taste. Finally, I thought to do Gobi Manchurian Dry at home:) my mother thought me in a simpler way and with full enthusiasm i Prepared Gobi Manchurian Dry my own. It came out so well I could not believe myself for a second. It is a Gobi Manchurian Dry, still it was very smooth, tender  and  juicy :)
Basic For Beginners
Gobi Manchurian Dry
Ingredients For Gobi Manchurian ( Batter )
Cauliflower 1 medium size.
Corn flour 2 teaspoon.
All purpose flour / maida 1 small cup.
Red chili powder 1 teaspoon.
Cooking soda ½ tea spoon.
Salt to taste.
Oil for a deep fry.
Basic For Beginners
Gobi Manchurian Dry
Ingredients For Sauce
Ginger & garlic paste or finely chopped 1 small cup..
Tomato & soy sauce 2 teaspoon each.
Coriander leaves finely chopped 1 small cup.
Green chili chopped or paste 2 teaspoon.
Onion finely chopped 1 small cup.
Sugar ½ teaspoon.
Salt to taste.
Oil for fry.
Basics For Beginners
Gobi Manchurian Dry
METHOD
Step 1: Make a batter with a above mentioned ingredients ( batter ) i.e corn flour, all purpose flour, cooking soda, and red chilli powder. Thick enough to coat cauliflower florets and  mix cauliflower florets keep it a side.
Step 2 : Heat oil in a pan and deep fry cauliflower florets until crisp.
Step 3: In Another frying pan heat oil. Add finely chopped onion, green chili, ginger and garlic paste fry them for 2 to 3 minutes and add  both the sauces ( soy and tomato) sugar & salt stir well.
Step 4: Turn off heat add fried cauliflower florets mix well.  Garnish with coriander leaves and spring onion if u like. :)
Basic For Beginners
Gobi Manchurian Dry.
Note:
1) For a batter u can also use pepper powder, a teaspoon of rice flour or besan.
2) You can add spring onions,capsicum for garnish.
3) Gobi Manchurian gives extra flavor if you add vinegar & ajinomoto(i skipped both)
4) You can also do the same method for other vegetables like potato, baby corn, mushroom, etc.
5) Quantity of all the ingredients used here can be altered according to your choice for look, taste, and smell.:)